⚠️ IMPORTANT: To activate this feature, you will need to have created groups/categories for your products, and to link your PayPal account to the website. If you haven't done it yet, click here to learn how.
Our fantastic Product Variations Tool is available for users on any of our premium plans or a lifetime deal. This means that you’ll be able to add information about sizes, colors, materials, etc. to your products in the Products section.
Product variations allow you to specify different options for your products, each with multiple values. You will be able to define different prices for these variations as well as their in-stock/out-of-stock status.
How do I activate it?
Check out this video or follow the simple steps listed below to see how you can add different variations to your products on your UENI website.
Here's a step-by-step guide on how you can do it:
Step 1: Head to Pages
Log into your Business Hub and click on Edit Website.

Next, click on Pages.

Step 2: Click on Products
Once you're on the sections page, click on Products.

Step 3: Select the Relevant Product
Once you are inside the Products section, make sure that you already have a list of products added here. If you are unsure how to do this, please check out our article here, where we take you through step by step of how to add individual products and create your different product groups.
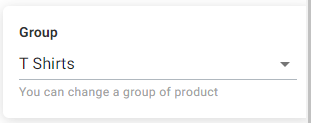
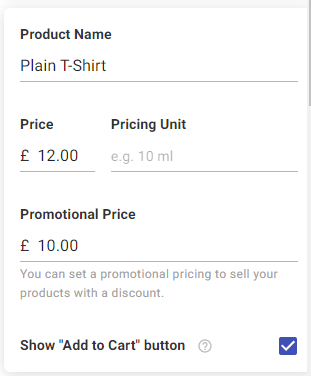
If you already had your products added, simply navigate to the product group and select the relevant product of which you want to add your variations. For this example, we will use a T-Shirt seller.
Scroll down until you see the tile to activate product variations, which looks like this:

Simply switch on this option and you will be able to add any kinds of variations to your products.

Step 4: Add New Product Option
After that, simply click on add new option:

Step 5: Edit your Product Option
A pop-up will appear, prompting you to select different options relevant to your products.


Simply add the options into the text box, and select 'add'.

Finish by clicking 'Add option'.
Step 6 (Optional): Manage your Stock
You will also have the chance to manage your stock and easily show your customers what products are available or not. You can find this option under Product Variations.

Select edit and you can show whether a product is in stock or out of stock.

Step 7 (Optional): Apply Product Tags
You can also add Product tags, and it's very relevant to use this feature because they are important for Google Shopping and to help improve your page SEO:

Step 8 (Optional): Add Images
When you've added all the necessary information about your product, you can add up to 10 images (click here to learn how) to best describe to your customers all the variations available for that product:

Once you've completed these steps, click on "Save Changes" and your product will be shown with its available variations!
Need a hand?
If you need any further assistance, please message our support team or get real-time help on our Live Chat!